-->

Pages

Thursday, October 4, 2018

Hello Card

It's time for another card share.


The embossing folder I used for this card is in the Holiday Catalog. It is called Tin Tile and has so many uses.  Stunning results when used with metallic paper but I kept this one simple.

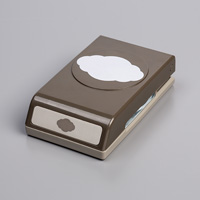
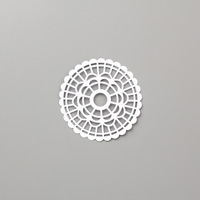
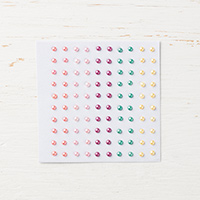
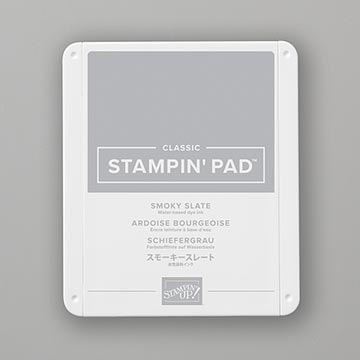
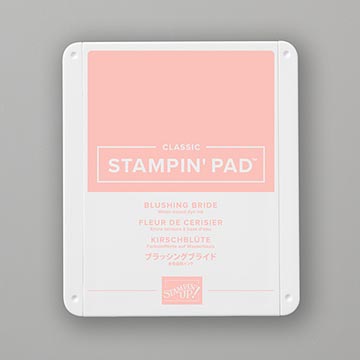
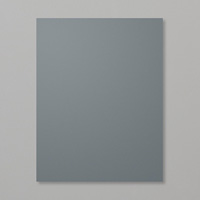
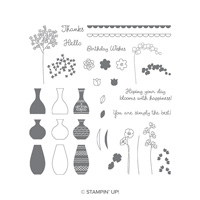
Started with the standard card base of 4 1/4 x 5 1/2 in Blushing Bride.  The Tin Tile layer is a layer 4 x 5 1/4, also in Blushing Bride.  It was then sponged with Blushing Bride ink and added to the card with dimensionals.  The Pearlized Doily is attached with Tombow glue in the middle where it is hidden.  The Smoky Slate strip is 3/4 x 3 also attached with Tombow.  The Hello (from Varied Vases) and label (from Label Me Pretty) were stamped in Smoky Slate ink on Whisper White and punched out with the Pretty Label punch and added with dimensionals.  Add a few Artisan Pearls and you have a card ready to write a message inside and send to a friend.

Hope you enjoyed today's share and thanks for visiting.

You can shop for the different card elements by clicking the photos below.  They will take you directly to my online store.

***

Wednesday, October 3, 2018

New Home Card

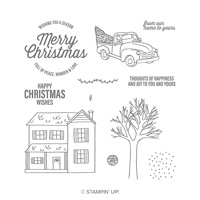
This card was created with a Christmas set, "Farmhouse Christmas" but using it in a different way.  I find it important for me to be able to find other uses for my stamps and dies other than then what seems to be the intention.


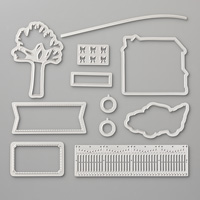
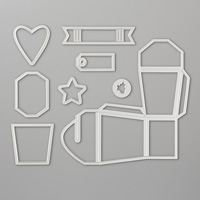
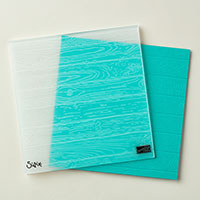
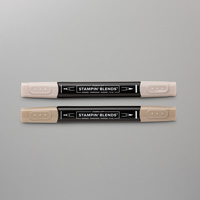
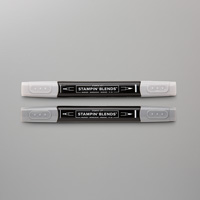
I started with a 4 1/4 x 5 1/2 card base in Basic Gray and ran the front through the Subtle embossing folder.  DSP was cut at 3 3/4 x 4.  Stitched Shape oval was cut from Smoky Slate and embossed with the Pinewood Planks embossing folder.  Fence was cut from Whisper White.  House was stamped with Memento Black and colored with light and dark Smoky Slate Blends and a little Crumb Cake light for the porch and then cutout with the thinlit.  Congrats was also stamped with Memento Black and cut out with the banner from the Takeout thinlits.  DSP and oval were added with Snail, fence with Tombow glue just in the middle and the House and sentiment banner were added with Dimensionals.

Hope you enjoyed today's share and thanks for visiting.

You can shop for the different card elements by clicking the photos below.  They will take you directly to my online store.

***
Tuesday, October 2, 2018

Tuesday Tip:
Do you have a Stamparatus? Then this tip is for you. If you make multiples of the same cards (like at Christmas) stamping the sentiment can take a while especially if you then die cut it.
Line up a larger piece of cardstock then you really need on the grid of the Stamparatus (great with the new small grid paper), add your stamp to a plate positioned so that it meets the cardstock. Ink and stamp. Now make sure that you remember or mark where that cardstock is on the grid paper, then take it to do the die cut. The left over cardstock is now your guide for all the rest of your stamping. Just take your die cuts and place them in the void.


Have a great day!


Monday, October 1, 2018

World Card Making Day is this Saturday, Oct. 6.  So let me encourage you to share a hand made card with a friend.


To celebrate this occasion Stampin' Up! is having a sale on select items to help you be creative.
Save 10% on some great card kits, a few stamp sets or other essentials to make that special card.

Follow this link to view the list for these items: World Card Making Day FLYER

They will be available at the reduced price from today (10/1) through Sunday (10/7).

BUT, that's not all.  Available to customers today are some great accessories for your Stamparatus.
And what is a Stamparatus you ask.  Stampin' Up! has this exclusive stamp positioning tool that is just amazing.  Do you have trouble lining up your stamps on your projects?  Then this may be for you.  Watch a video here:  https://www.youtube.com/watch?v=3teCr7Xo4G8&t=3s

The new accessories are additional plates, magnets, foam pads but my personal favorite is the small grid paper.  It fits perfectly and I love having the grids showing when using the foam pad with photopolymer stamps.
View the accessories list here:  Stamparatus Accessories FLYER

To take advantage of these promotions just click on the green Shop Now button at the top right side to go directly to my Online Store.

Stay tuned to my blog this week as I share a card each day in honor of World Card Making Day.

Have a great one!


Tuesday, September 25, 2018

Tuesday Tip
Another tip for your punches. Although the punch pictured is meant to do a label, you can also get some interesting shapes on the ends of smaller pieces of cardstock. Top cut is a piece 1/2" wide, next is 3/4" wide and the last is 1" wide. So if your greeting is smaller this will give you more options. Take a look at all your punches to see if you can get double duty from them.
 Have a great day!

Tuesday, September 18, 2018

Tuesday Tip:

This is another tip for photopolymer stamps.  Depending on the shape or size of the stamp, when you pull them from the plastic sheeting they may distort a little.  If you lay them on a piece of paper stamping side down for just a second they should form back to the original shape.  Then use your acrylic block to pick them up.  Ready to ink and stamp!

Tuesday, September 4, 2018

Tuesday Tip

It's always great news when you find that one of your punches can do double duty.  Do you like to use banner ends in your cards or scrapbook projects?  The Tailored Tag punch can help you make these up to about 2 1/4" wide.  Just turn your punch over, slide in the paper, align and punch.  Wow!
Have a great day!